 |
| A view over the hills of the eastern edge of Germany's Black Forest facing France |
What's been keeping House Cook from having much chance to cook these days? Distance and many, many changes.
This has been a season of change for us all. Anna-Lara has found a job and has been getting used to a new rhythm of life, Katy-Lynn is preparing for college, Julianne is jumping into her exciting new world of high school, and the youngest of us has been working as her soon-to-be rockstar self, practicing piano and winning science fairs. Meanwhile, I, Sarah-Lambert, have moved to Germany.
Today is the first in our new series, "North of the Wall," featuring foods and drinks and adventures from Germany where winter is most definitely coming.
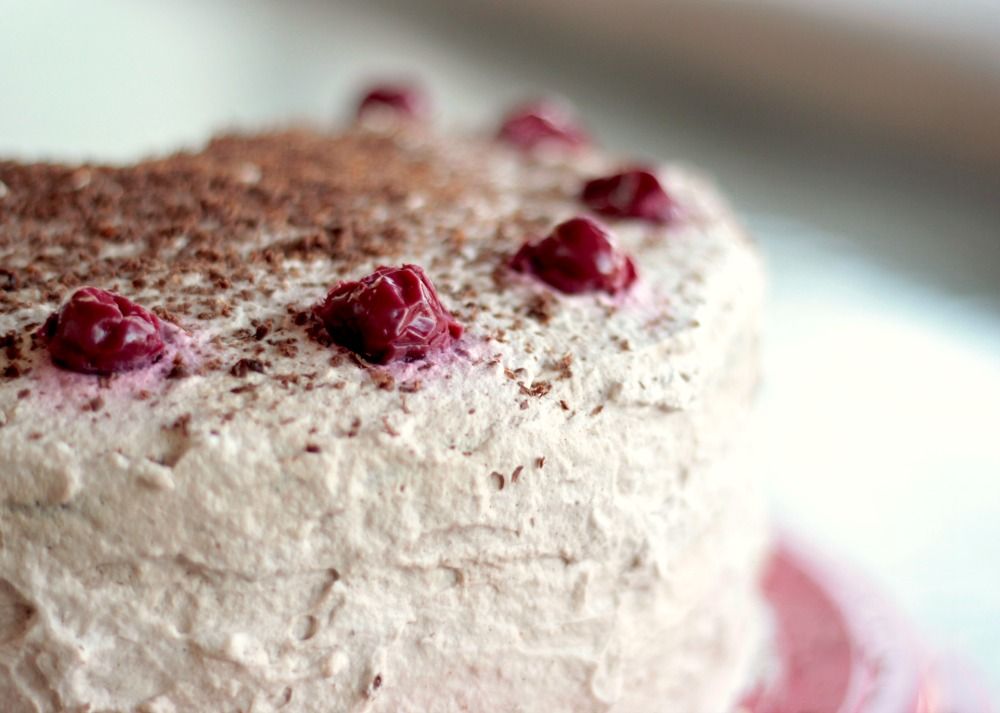
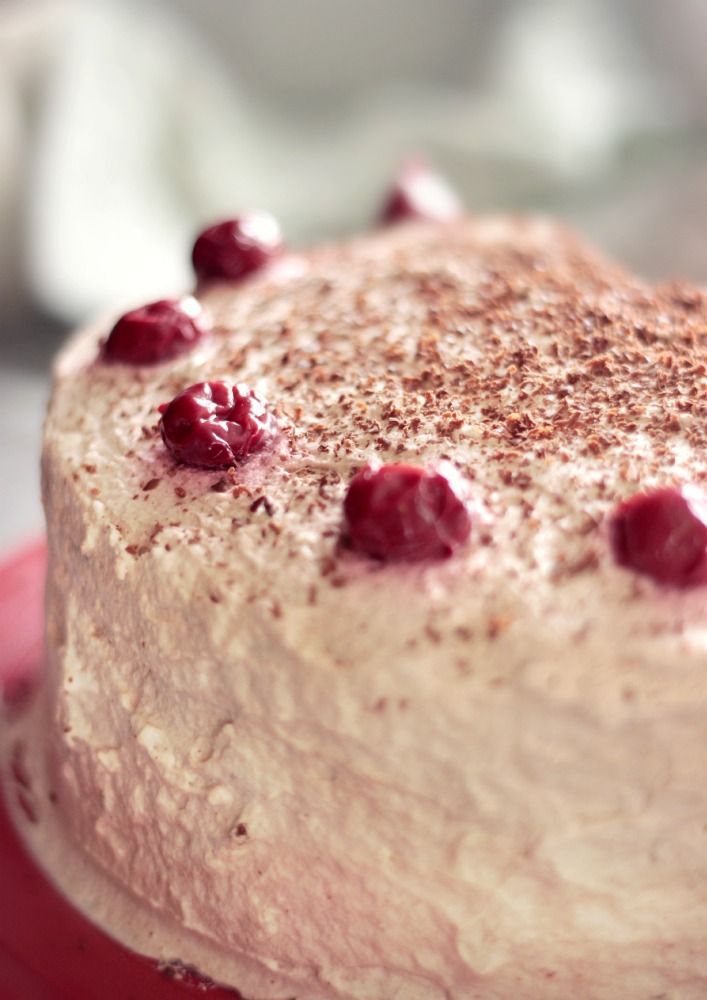
Feast your eyes on some delicious, traditional Black Forest cake:
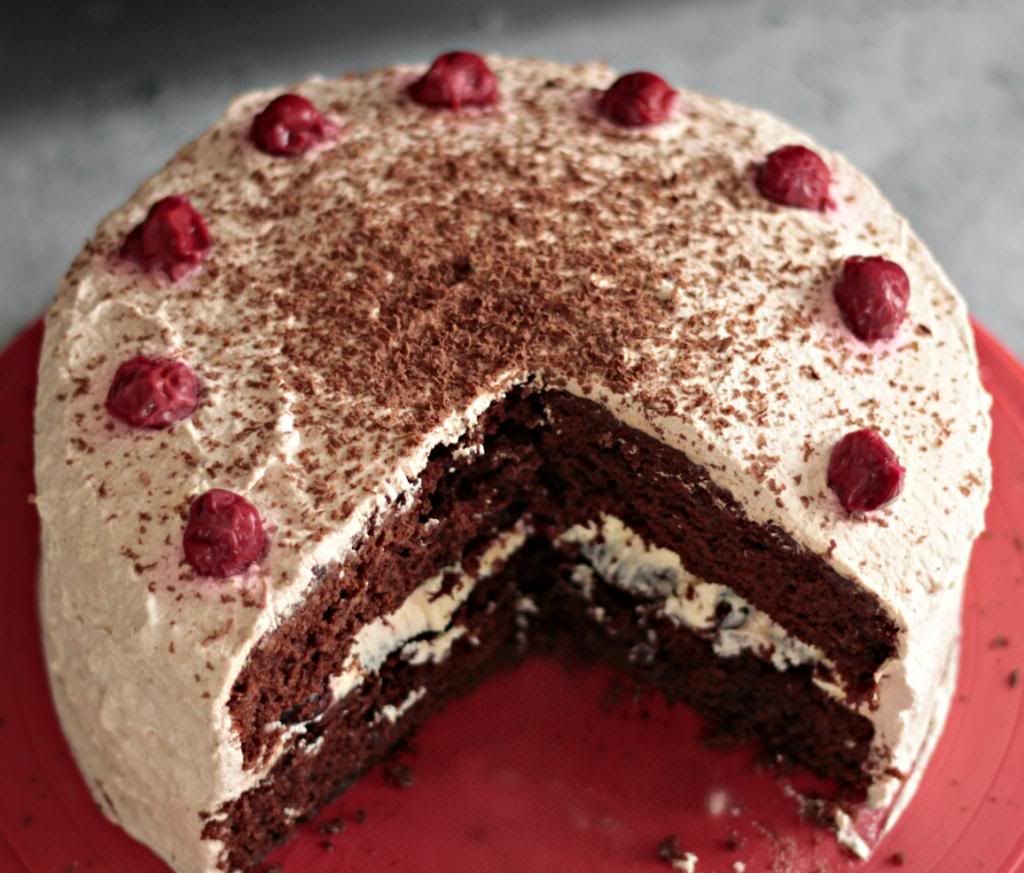
Yeah... tasty looking, right? It certainly is.
When I first started looking for the recipe, I could find only German ones. Not too much of a problem since translating a recipe isn't the most difficult, but thankfully, I found one written up in English that is only a tiny bit different from the one in German (you can find the English one I used as reference here). The recipe we're sharing with you today from North of the Wall is a mix of these two recipes.
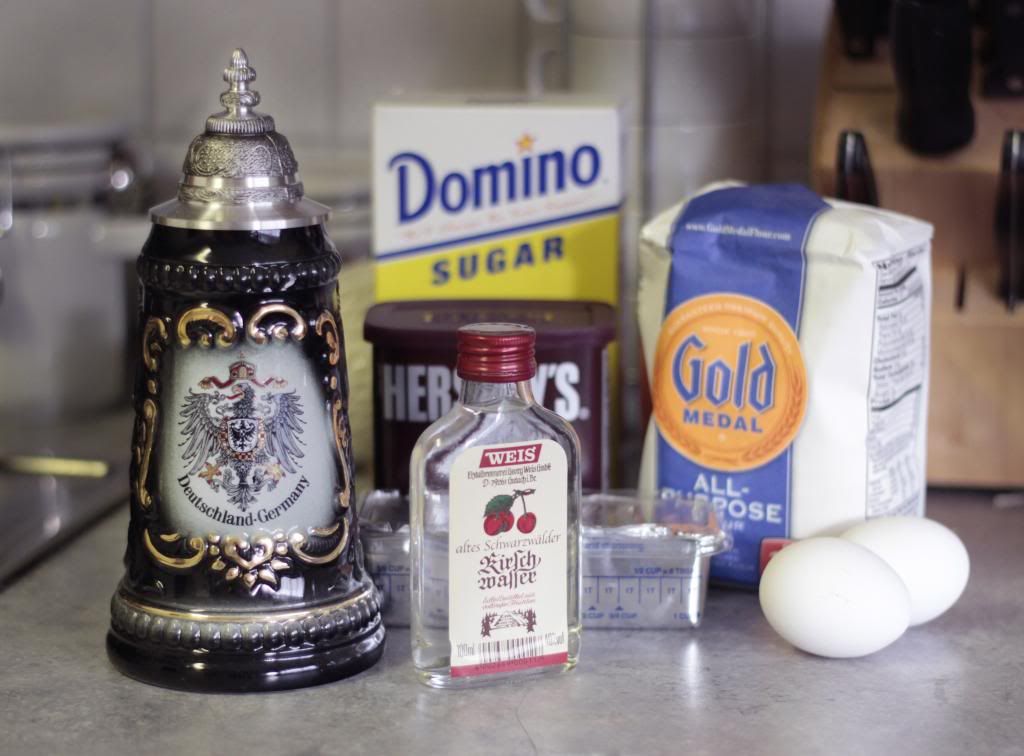
German Black Forest Cake
Moderate difficulty. Prep time 40-60 minutes (I took 60, but you're probably faster). Cook time 40 minutes.Ingredients:
Cake:
1 2/3 cups flour
2/3 cup unsweetened cocoa powder
1 1/2 tsp baking soda
1 tsp salt
1/2 c shortening
1 1/2 cups sugar
2 eggs
1 tsp vanilla extract
1 cup buttermilk
2/3 cup kirsch (cherry schnapps)
Filling:
1 stick of butter, room temperature
1 3/4 cups powdered sugar
1 pinch of salt
1 tsp strong coffee or espresso brewed and cooled
1 (14 oz) can of dark sweet pitted cherries in heavy syrup
Whipped frosting:
2 cups heavy whipping cream
1/2 tsp vanilla
1 tbsp kirsch
1/2 tbsp unsweetened cocoa powder
grated semi-sweet chocolate for garnish
extra dark cherries for decoration
Step 1: Preheat oven to 350 degrees
Step 2: Line the bottoms of two 8 inch round pans with parchment paper (or tin foil) circles.
Step 3: Sift together flour, baking soda, cocoa, and salt and set mixture aside.
Step 4: Cream shortening and sugar until nice and fluffy. Then beat in eggs and vanilla.
Step 5: Slowly, add the flour mixture into the shortening mixture alternating with your buttermilk until they are thoroughly combined. **If the mixture seems too dry add a tiny bit more buttermilk**
Step 6: Pour the mixture into your pans and bake for 35-40 minutes.
Step 7: When the cake halves are both baked, allow them to cool thoroughly. Once cooled, poke holes all over them using a toothpick or fork and sprinkle the kirsch (cherry schnapps) over them generously. How much you use is up to how strongly you'd like the cake to taste of schnapps. Remember: the alcohol will not be baked off, so don't get crazy with it if you're making this sugar treat for your kids!
Step 8: Cream the butter until light and fluffy.
Step 9: Add the powdered sugar, pinch of salt, and coffee and mix thoroughly.
Step 10: Remove the cake halves from their pans. Place the first half on a plate and spread the mixture from steps 8 and 9 over the surface of the layer. Top this with the pitted cherries and their syrup. **I only ended up using 3/4 of the can. Use as little or as much of the cherry/syrup business as you think looks good**
Step 10: In a separate bowl, whip the cream to stiff peaks.
Step 11: Beat in the vanilla, cocoa and kirsch listed under "whipped frosting" in the ingredients.
Step 12: Frost top and sides of cake and decorate with a dusting of chocolate shavings and a lining of cherries. Want more chocolate? Get crazy with your shavings and apply them liberally!
Keep the cake refrigerated until serving.