
Showing posts with label cake. Show all posts

Tuesday, November 26, 2013

North of the Wall: German Black Forest Cake

A view over the hills of the eastern edge of Germany's Black Forest facing France

What's been keeping House Cook from having much chance to cook these days? Distance and many, many changes.

This has been a season of change for us all. Anna-Lara has found a job and has been getting used to a new rhythm of life, Katy-Lynn is preparing for college, Julianne is jumping into her exciting new world of high school, and the youngest of us has been working as her soon-to-be rockstar self, practicing piano and winning science fairs. Meanwhile, I, Sarah-Lambert, have moved to Germany.

Today is the first in our new series, "North of the Wall," featuring foods and drinks and adventures from Germany where winter is most definitely coming.

Feast your eyes on some delicious, traditional Black Forest cake:
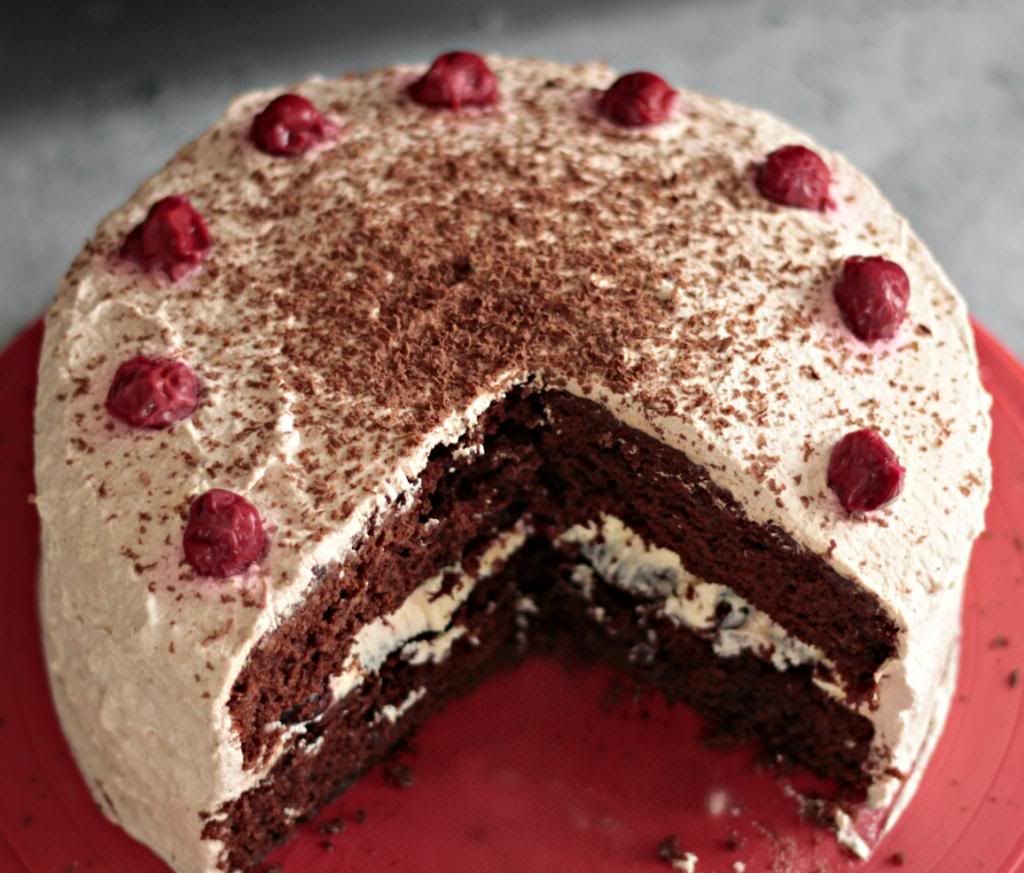

Yeah... tasty looking, right? It certainly is.

When I first started looking for the recipe, I could find only German ones. Not too much of a problem since translating a recipe isn't the most difficult, but thankfully, I found one written up in English that is only a tiny bit different from the one in German (you can find the English one I used as reference here). The recipe we're sharing with you today from North of the Wall is a mix of these two recipes.
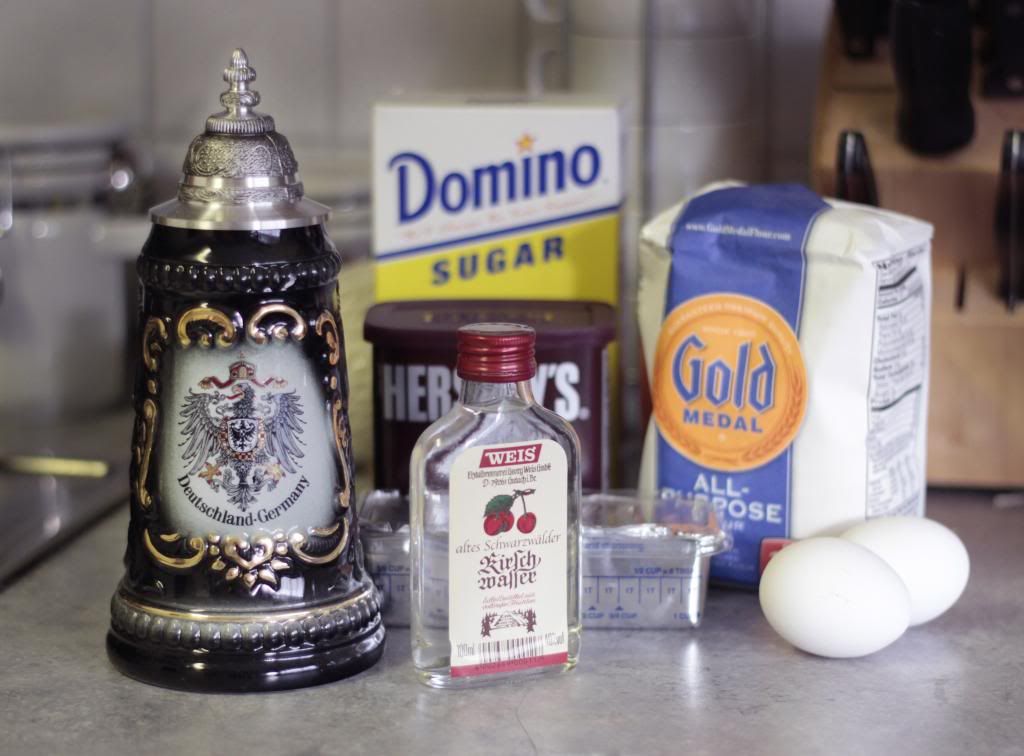

German Black Forest Cake

Moderate difficulty. Prep time 40-60 minutes (I took 60, but you're probably faster). Cook time 40 minutes.

Ingredients: 

Cake:

1 2/3 cups   flour
2/3   cup unsweetened cocoa powder
1 1/2 tsp   baking soda
1 tsp   salt
1/2 c   shortening
1 1/2   cups sugar
2   eggs
1 tsp   vanilla extract
1 cup   buttermilk
2/3 cup   kirsch (cherry schnapps)
Filling: 

1 stick of butter, room temperature
1 3/4 cups powdered sugar
1 pinch of salt
1 tsp strong coffee or espresso brewed and cooled
1 (14 oz) can of dark sweet pitted cherries in heavy syrup

Whipped frosting:

2 cups heavy whipping cream
1/2 tsp vanilla
1 tbsp kirsch
1/2 tbsp unsweetened cocoa powder
grated semi-sweet chocolate for garnish
extra dark cherries for decoration


Step 1: Preheat oven to 350 degrees

Step 2: Line the bottoms of two 8 inch round pans with parchment paper (or tin foil) circles.

Step 3: Sift together flour, baking soda, cocoa, and salt and set mixture aside.

Step 4: Cream shortening and sugar until nice and fluffy. Then beat in eggs and vanilla.

Step 5: Slowly, add the flour mixture into the shortening mixture alternating with your buttermilk until they are thoroughly combined. **If the mixture seems too dry add a tiny bit more buttermilk**

Step 6: Pour the mixture into your pans and bake for 35-40 minutes.

Step 7: When the cake halves are both baked, allow them to cool thoroughly. Once cooled, poke holes all over them using a toothpick or fork and sprinkle the kirsch (cherry schnapps) over them generously. How much you use is up to how strongly you'd like the cake to taste of schnapps. Remember: the alcohol will not be baked off, so don't get crazy with it if you're making this sugar treat for your kids!

Step 8: Cream the butter until light and fluffy.

Step 9: Add the powdered sugar, pinch of salt, and coffee and mix thoroughly.

Step 10: Remove the cake halves from their pans. Place the first half on a plate and spread the mixture from steps 8 and 9 over the surface of the layer. Top this with the pitted cherries and their syrup. **I only ended up using 3/4 of the can. Use as little or as much of the cherry/syrup business as you think looks good**

Step 10: In a separate bowl, whip the cream to stiff peaks.

Step 11: Beat in the vanilla, cocoa and kirsch listed under "whipped frosting" in the ingredients.

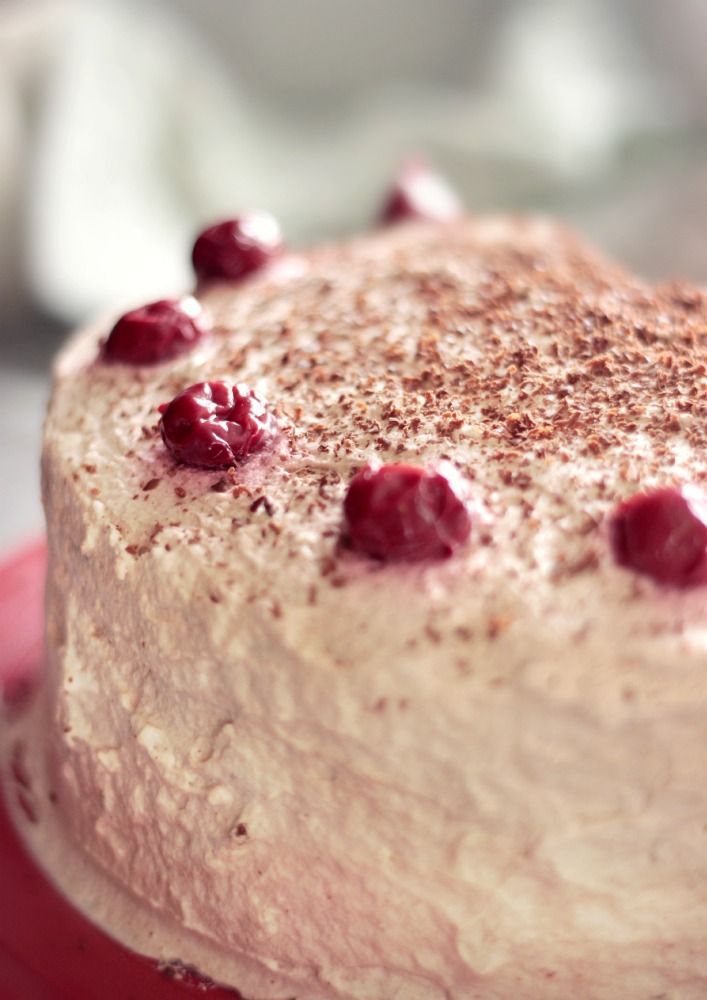
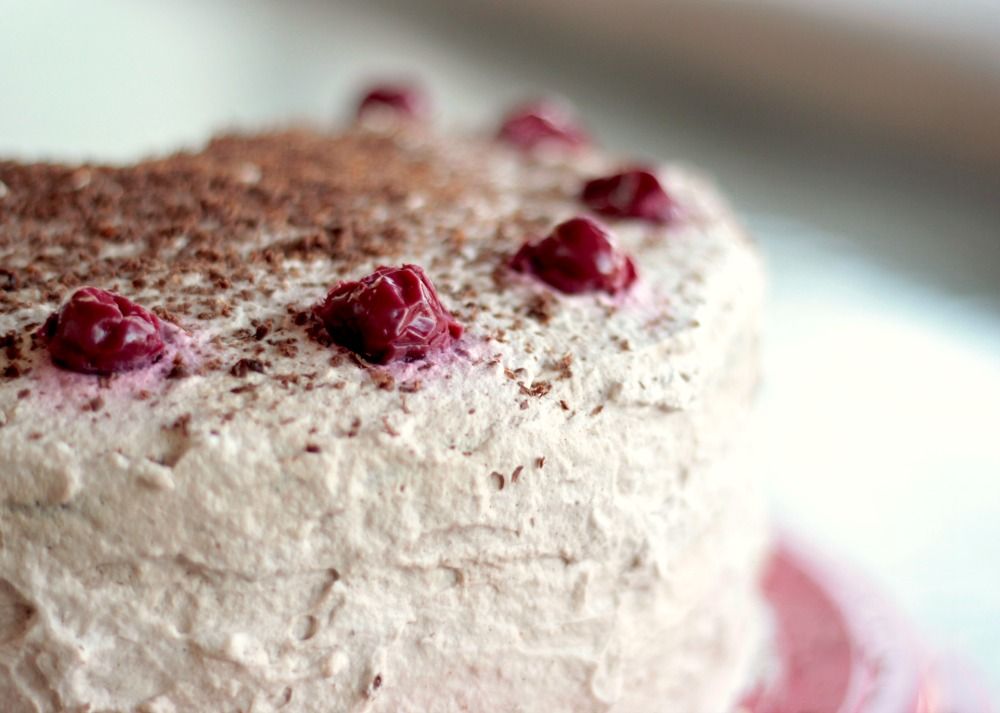
Step 12: Frost top and sides of cake and decorate with a dusting of chocolate shavings and a lining of cherries. Want more chocolate? Get crazy with your shavings and apply them liberally!

Keep the cake refrigerated until serving.


Monday, October 7, 2013

Winter is Coming: Apple Cider Cupcakes


Apple Cider Cupcakes with Cinnamon Buttercream Icing


Feel that chill in the air? Winter is coming. 

But for now, it's time to celebrate Fall. To help your taste buds adjust to the change in the weather, we've whipped up an easy dessert. Apple cider cupcakes, topped with cinnamon buttercream icing, are the perfect treat for autumn. These melt-in-your-mouth cupcakes will leave your house smelling like cinnamon. Not to mention that they match the colors outside.


Prep time: 30 minutes
Bake time: 19-22 minutes
Makes: about 15 cupcakes

Cupcake Ingredients:

2 eggs
1 2/3 c flour
2/3 c sugar
1 c apple cider (I made mine with instant apple cider mix)
1/2 softened butter
2 tsp baking powder
1 tsp cinnamon
1/2 tsp salt
1 tsp vanilla

Buttercream Ingredients:

1/2 c butter
1/2 c shortening
2 tsp vanilla
1 tbsp cinnamon
1 tbsp milk
1 bag of powdered sugar

Cupcakes:

Step 1: Preheat oven to 350 degrees. Prep cupcake tins with paper liners.

Step 2: Whisk together cupcake ingredients in a large bowl. Do not add cider while it's hot, or you'll cook the eggs.

Step 3: Fill cupcake liners about 2/3 of the way full. Bake for 19-22 minutes, or cooked through. Test with a toothpick.

Icing:

Step 1: Beat together butter, shortening, and vanilla until creamed. Stir in cinnamon.

Step 2: Beat in powdered sugar one cup at a time. When the mixture becomes thick, add 1 tbsp of milk and keep beating. Mix in the entire bag of powdered sugar. You will have extra icing. Either cut the recipe in half before you start, or store icing in the fridge.

To get the two-toned roses that I decorated my cupcakes with, divide your icing in half and color one half red and the other orange. Then follow the instruction here to create two-toned roses.

And that's it! A super easy recipe for fall. These cupcakes will definitely impress at any fall or Halloween party. Enjoy!


Monday, June 17, 2013

Take Up the Black: Marshmallow Filled Chocolate Cake


Based on what we saw at the end of 'Game of Thrones' Season 3, the job of the Night's Watch is about to get a lot harder. They might need some new men to take up the black and protect Westeros. So if you're at all inclined to join the Night's Watch, we'll raise a toast to you and send you off with this delicious cake.

This rich chocolate cake is moist and filled with homemade marshmallow spread. Trust us when we say, it'll melt in your mouth. While you might not be willing to give up everything to protect the Wall, you will be willing to drop everything to have another piece of this cake.

Here are all the ingredients you will need for the cake, icing, and marshmallow spread.

Cake Ingredients:

2 cups sugar
1 3/4 cups all-purpose flour (use bread or cake flour if available)
3/4 cup cocoa
1 1/2 tsp baking powder
1 1/2 tsp baking soda
1 tsp salt
2 eggs
1 cup milk
1/2 cup vegetable oil
2 tsp vanilla extract
1 cup boiling water

Icing Ingredients:

3/4 cups butter
2/3 cups cocoa
1/2 cup milk
4 cups powdered sugar
1 1/2 tsps vanilla extract

Marshmallow Spread Ingredients:

3 egg whites
2 cups light corn syrup
1/2 tsp salt
2 cups sifted powdered sugar
1 Tbsp vanilla extract

To bake the cake...


Prep time: 15 minutes
Bake time: 30-35 minutes
Serves: 10-12

Step 1: Preheat the oven to 350 degrees Fahrenheit. Grease and flour two 9-inch round pans. Then put 1 1/2 cups of water on the stove to boil. You'll only need 1 cup of the water, but some will evaporate while bowling.

Step 2: Stir together sugar, flour, cocoa, baking powder, baking soda, and salt in a large bowl.

Step 3: Add eggs, milk, oil, and vanilla extract and beat on low for 30 seconds and then one medium speed for 2 minutes.

Step 4: Stir in 1 cup boiling water. This will make the mixture quite runny, but don't worry; it's supposed to be like that.

Step 5: Evenly divide the batter into the two prepared pans and bake for 30 to 35 minutes or until a toothpick comes out clean when inserted in the center. Allow the cake to cool in the pan for at least 10 minutes before removing to cool on a plate or wire rack.

How to make the icing...


Prep time: 10 minutes

Step 1: Melt butter. Stir butter and cocoa together in a large bowl.

Step 3: Alternately stir in milk and powdered sugar until well blended. Stir in vanilla.

Marshmallow spread directions...


Prep time: 10 minutes

Step 1: Beat together on high speed egg whites, corn syrup, and salt until mixture is thick and double the size.

Step 2: Beat in powdered sugar at low speed until well blended. Add vanilla extract and beat until blended.

If you have left over marshmallow after you decorate your cake, store it in the fridge. Put it on ice cream or pour extra over your cake.

To decorate the cake..


Decorating time: 1 hour 30 minutes

Step 1: Place the first layer on your cake plate. Put chocolate icing in a piping bag and pipe a rim around the cake with a large round tip. With a large spoon, scoop out marshmallow and pour it on top of the cake layer. The marshmallow will spread out on its own. Make sure not to pour too much so that it doesn't seep over the edge of the icing wall.


Step 2: Place second cake layer on top. With an angled spatula or table knife, apply a crumb coat of chocolate icing. Put the cake in the fridge for at least 1 hour to allow the icing and marshmallow to harden.

Step 3: Remove cake from fridge and apply a final layer of icing to only the sides of the cake. (If you don't want to decorate like I have, then go ahead and apply a final icing layer to the top as well.) To do what I did, put icing in a piping bag with a medium sized star tip. I used a Wilton 21 star tip. Start form the outside rim of the top of the cake and make small stars. Go all the way around, working your way in to the center of the cake. Make the same small stars around the bottom of the cake, and you're finished!


This is, honestly, one of the tastiest and most moist cakes I've ever had. It's fairly rich, so thin slices are better. I mean, it even looks delicious.


Wednesday, May 22, 2013

How to Make Buttercream Frosting Roses Tutorial


On Monday, we made a delicious House Tyrell inspired cake with pretty yellow roses. Today, we show you how to make those roses. Follow along with us in this short tutorial video or scroll on down to find the step-by-step instructions.

Making Roses and Leaves:

Step 1: Change the tip on your piping bag to a large star tip. I use a 1M tip, but you can also use a 2D
tip.

Step 2: To make a rose, hold your tip against the side of the cake and apply pressure to the bag. Keep pressing out icing while you move outward in a circle. – Practice this on a plate a couple of times before you do it on the cake.

Step 3: To decorate the cake in roses, you’ll want to start the center of the rose about an inch from the base of the cake. Make the next rose to the side of the first and continue until you have a bottom layer of roses. Stagger roses as you move up the cake. When you get to the top, allow the layer to hang over the edge to combine the sides and tops of the cake. Then make roses around the edge and work your way to the center of the cake.

Step 4: Put the green icing in a piping bag with a leaf tip. Start leaves at the base of the cake. Make leaves of alternating lengths as you move around the cake.


Monday, May 20, 2013

Yellow Rose of Tyrell Cake


Oh happy day! A wedding! Well, actually, several weddings! As this third season of Game of Thrones winds down, many of our favorite Westeros lords and ladies are getting married--whether they're happy about it or not. We're hoping it all turns out happily, but this is Westeros, so that just doesn't seem likely. 

For us, a happy wedding means good cake. For a Tyrell, a good cake means roses that are growing strong. We've whipped up this rose covered cake to celebrate the upcoming big day for Margaery Tyrell. And did we mention the hazelnut? The cake, icing, and Nutella filling are all hazelnut flavored, making for a delicious treat. 

Today we're giving you the cake recipe, but look out for our rose tutorial coming later this week where we'll teach you this very easy technique to create a beautiful Tyrell Rose Cake of your own.


 Yellow Rose of Tyrell Cake Recipe

Prep time: 30 minutes, bake time 25-30 minutes, icing 30 minutes
Difficulty: Moderate
Serves: 12-15 

Cake Ingredients:
  • 3 cups flour
  • 1 tbsp baking powder
  • ½ tsp salt
  • 1 cup unsalted butter (if you use salted butter then don’t use the ½ tsp of salt)
  • 1 ¾ granulated sugar
  • 4 large eggs
  • 2 tsp hazelnut extract
  • 1 cup room temperature milk
Buttercream Icing Ingredients:
  • 2lb bag of powdered sugar
  • 1 cup shortening
  • ½ cup milk
  • 2 ½ tsp hazelnut extract
  • Yellow and green food coloring
*You will also need Nutella for the cake filling 

Hazelnut Cake Recipe:


Step 1: Preheat oven to 350 degrees. Grease two 9 inch cake pans or three 6 inch pans. 


Step 2: Sift together flour, baking powder, and salt in a medium sized bowl

Step 3: In a large bowl beat butter until creamy 

Step 4: Gradually add sugar and beat thoroughly

Step 5: Add eggs one at a time, beating thoroughly before adding the next egg

Step 6: Beat in hazelnut

Step 7: Add flour slowly, adding milk as you add flour in order to help the mixture beat more easily

Step 8: Pour mixture into pans and bake for 25-30 minutes or until finished. Bake time will vary depending on size of pan you used.


Crusting Buttercream Icing Recipe:

Step 1: Beat together shortening and hazelnut extract until creamy in a large bowl.

Step 2: Slowly add powdered sugar. You will need to add no more than a cup at a time and beat the mixture thoroughly before adding more. As the icing becomes harder to beat, slowly add milk. Only add a little at a time until all sugar and milk is added and icing is smooth.

Step 3: Separate about a quarter cup of icing from the mixture. 

Step 4: Mix green food coloring into the small portion of icing

Step 5: Mix several drops of yellow food coloring into the larger portion of icing

How to Decorate the Cake:

Cake Layers:

Step 1: Place the first layer on your cake plate. It’s easiest to place the cake upside-down so that the flattest part of the cake is facing up.

Step 2: Add some yellow icing to piping bag with a round icing tip. Put a rim of icing around the top of the cake layer. Then fill in the rim with Nutella. Place the second layer on top of the first. If you are using three 6 inch pans, then repeat this process and add the third layer.

Crumb Coat:

Step 1: To crumb coat the cake, add a thin layer of yellow icing to the cake. You only want to add enough icing to hold in the crumbs and to give the roses something to stick to.


How do you make the roses? See our tutorial here: 


Monday, May 13, 2013

Khalee-C-Cupcakes: Heart-Shaped Red Velvet Cake

Caramel Flavored Red Velvet Cupcakes with a Peppermint Garnish


As we watched Daenerys Targaryan muscle her way past the gag reflex and choke down a raw horse heart during the first season of Game of Thrones, we thought to ourselves, "OMG, cupcakes!!" Yes, you read that correctly: cupcakes. Not just any cupcakes, mind you, but red velvet cupcakes with delicious whipped cream frosting and peppermint pieces all in a sweet little heart shape--a nod to Daenerys' suffering. 

Unfortunately, one amongst our number isn't such a fan of red velvet cake and handles eating cupcakes made with it about like Daenarys handled the horse heart...


If you're still with us--which you should be, because these bad boys are tasty--then let's get to baking!

Ingredients:


 Red velvet cupcakes (recipe here
 6 ounces of caramel ice cream topping
14 ounce can of sweetened condensed milk
1 cup heavy whipping cream
 1 tsp vanilla extract
 1 tbsp confectioner's sugar
 red food coloring
 peppermint candies


Step 1: Start out by prepping your favorite red velvet cupcake recipe. Here’s a good one from drool factor, but if
Khalee-C-Cupcakes
you’re more comfortable making it from the box than from scratch, that’s fine too. 

Step 2: I’m using a Wilton heart-shaped cupcake pan. If you don’t have or want to buy a heart-shaped pan, you can either make regular round cupcakes, or there are a couple of simple tricks you can follow to get heart-shaped cupcakes.

  •        One is the place a marble between the cupcake filter and the inside of the pan. This created the top of the heart.
  •         The second option is to bake your cake batter in a large flat pan and either cut out the heart shapes or use a cookie cutter.

Step 3: Use whichever shaping method you’ve chosen above and bake your cupcakes.

Step 4: While the cupcakes are in the oven, it’s time to prep the caramel and sweetened-condensed milk.  Combine the milk and caramel in a saucepan and stir. The mixture should be warm and easy to pour. Don't let the mixture become too hot and burn the caramel and milk.

Step 5: When the cupcakes are done let them cool for five minutes. Then take a knife and cut slits in the top of the cupcakes. Make sure not to cut to the bottom.

Step 6: Slowly pour the caramel and milk mixture over the slits in the cupcakes. I like to use a big spoon for this, but make sure not to pour too quickly. You want the cake to absorb the mixture.

Step 7: Prep the whip topping.
  •           Pour 1 cup of heavy whipping cream into a bowl. Mix until soft peaks form.
  •           Add 1 tsp of vanilla extract, 1 tbsp of confectioner’s sugar, and a few drops of red food coloring
  •          Beat until soft peaks form

Step 8: Put the whip topping on the cupcakes. To get a great look, put the topping into a piping bag and use a star-tip. I used a 1M star tip (which is quite large) to get a good icing look.

Step 9: Crush peppermints. This is easiest if you put the mints into a Ziploc bag and use a rolling pin to crush them. Once crushed, garnish the top of the cupcakes with the peppermints. Don’t like peppermint? Any chocolate or hard-candy will work and will add a great flavor.
Crushed peppermints sprinkled on the cupcakes
| www.songofspiceandfire.com
The sweet red velvet cupcakes with sprinkles of peppermint all around 
...take a bite and enjoy!