Showing posts with label baking. Show all posts

Friday, April 18, 2014

Dragon Treat S'Mores Bars

Chocolate Chip Cookie S'Mores Bars for Your Dragon

If you're anything like we are, you've been killing yourself trying to think of a good treat for you and your dragon to share. Well look no more. You won't need a fire to toast these s'mores, but you will love the melted marshmallows, chocolate chips. and graham cracker crust. 

This original recipe uses chocolate chip cookie dough without brown sugar to create a s'mores cookie bar that even your dragon will want to keep eating. Our dragon loved it! Not to mention that this dessert is easy to make and takes no time at all. Who said you need fire to make a good fireside snack?


Prep time: 15 minutes
Bake time: 25-30 minutes
Makes a 9x13 pan or s'mores bars

Ingredients:

1 cup (2 sticks) softened butter
3/4 cup sugar
2 eggs
2 tsp vanilla extract
2 1/2 cups all-purpose flour
1 tsp baking soda
1/2 tsp salt
2 cups chocolate chips (I used mini chocolate chips)
1 bag (10oz) mini marshmallows
10 graham crackers
3 Tbsp melted butter


Step 1: Preheat oven to 350 degrees F. 

Step 2: In a large bowl, mix together the 1cup of softened butter and granulated sugar on medium speed. Add eggs and vanilla extract. Cream together.

Step 3: Stir together flour, baking soda, and salt in medium-sized bowl. Add dry goods to the large bowl and mix together thoroughly.

Step 4: Stir in chocolate chips completely. Add mini marshmallows and stir in. Make sure they are completely stirred through the dough.

Step 5: Using a food processor, crush the graham crackers. You can also do this is by putting them in a plastic bag and crushing the crackers with a rolling pin. Pour the graham crackers into a small bowl. Stir in 3 Tbsp melted butter. Using a spoon or your fingers, press the graham crackers mixture into the bottom of a 9x13 pan. Make sure the crust is evenly spread across the bottom.

Step 6: Spread the dough over the graham cracker crust in the pan. Bake at 350 degrees for 25-30 minutes or until the top of the marshmallows is beginning to brown. Test with a toothpick to make sure that it is cooked through completely.

Trust me, these cookie bars are delicious. The graham cracker crust and marshmallows add something extra to a cookie bar that will leave your mouth watering. Not to mention, your dragon's mouth.

Enjoy!


Monday, October 7, 2013

Winter is Coming: Apple Cider Cupcakes


Apple Cider Cupcakes with Cinnamon Buttercream Icing


Feel that chill in the air? Winter is coming. 

But for now, it's time to celebrate Fall. To help your taste buds adjust to the change in the weather, we've whipped up an easy dessert. Apple cider cupcakes, topped with cinnamon buttercream icing, are the perfect treat for autumn. These melt-in-your-mouth cupcakes will leave your house smelling like cinnamon. Not to mention that they match the colors outside.


Prep time: 30 minutes
Bake time: 19-22 minutes
Makes: about 15 cupcakes

Cupcake Ingredients:

2 eggs
1 2/3 c flour
2/3 c sugar
1 c apple cider (I made mine with instant apple cider mix)
1/2 softened butter
2 tsp baking powder
1 tsp cinnamon
1/2 tsp salt
1 tsp vanilla

Buttercream Ingredients:

1/2 c butter
1/2 c shortening
2 tsp vanilla
1 tbsp cinnamon
1 tbsp milk
1 bag of powdered sugar

Cupcakes:

Step 1: Preheat oven to 350 degrees. Prep cupcake tins with paper liners.

Step 2: Whisk together cupcake ingredients in a large bowl. Do not add cider while it's hot, or you'll cook the eggs.

Step 3: Fill cupcake liners about 2/3 of the way full. Bake for 19-22 minutes, or cooked through. Test with a toothpick.

Icing:

Step 1: Beat together butter, shortening, and vanilla until creamed. Stir in cinnamon.

Step 2: Beat in powdered sugar one cup at a time. When the mixture becomes thick, add 1 tbsp of milk and keep beating. Mix in the entire bag of powdered sugar. You will have extra icing. Either cut the recipe in half before you start, or store icing in the fridge.

To get the two-toned roses that I decorated my cupcakes with, divide your icing in half and color one half red and the other orange. Then follow the instruction here to create two-toned roses.

And that's it! A super easy recipe for fall. These cupcakes will definitely impress at any fall or Halloween party. Enjoy!


Thursday, August 1, 2013

Beyond the Wall Pizza


Cheese and Tomato Pizza with No Yeast Pizza Dough

We started our Beyond the Wall series with our fast and delicious 3 Ingredient Peanut Butter Cookies. Now we'd like to bring you a main course that's quick, easy, and will leave your mouth watering for more.

Here at Cook's Landing we love pizza. Over the years we've perfected that love into a recipe with piles of tomatoes and four kinds of cheese. Of course our impatience to eat the pizza means we don't like waiting for yeast to rise. So instead we use this simple no yeast recipe.

No Yeast Pizza Dough...

Prep time: 15 minutes
Bake time: 20-25 minutes
Makes 2 pizza bases

Ingredients:

2 c flour
2 tsp baking powder
1 tsp salt
2/3 c milk
1/4 olive oil
2 Tbsp olive oil - to brush on dough

Step 1: Preheat oven to 425 degrees. Stir together ingredients (except 2 Tbsp of olive oil) in a large bowl. In the bowl, gather the dough together and press it into a large ball.

Step 2: Knead dough in the bowl until smooth. Split ball in two and place on a lightly floured surface. Roll each half into a roughly 13 inch circle. Place on pizza pan. Turn up the edge and pinch into 1/2 inch ridges to finish your crust. Brush the 2 Tbsp olive over the surface of the dough.

How to decorate the pizza...

You'll need:

Pizza sauce
1 can of dice tomatoes
Italian Seasoning
Crushed Red Pepper
Garlic Powder
Onion Powder
Crumbled feta cheese
2 roma tomatoes
Romano cheese
Provolone cheese
Parmesan cheese

Step 1: Spread a thin layer of pizza sauce over the surface of the dough. With a spoon, scoop out diced tomatoes from the can and cover the surface of the pizza dough, placing a tomato chunk on every 1/2 inch of the dough.

Step 2: Lightly sprinkle Italian seasoning, crushed red pepper, garlic powder, and onion powder over the surface of the pizza. Sprinkle feta cheese crumbles over the entire pizza.

Step 3: Slice roma tomato into thin slices and place evenly over the surface of the pizza. Grate the remaining three cheeses and sprinkle over the pizza until the roma tomatoes are only slightly visible beneath. Don't put too much cheese - unless you're a huge cheese fan, and then have fun!

Step 4: Bake for 20-25 minutes or until the pizza looks done (slightly brown on top).

And that's it! A pizza with so much flavor, it'll melt in your mouth. This cheesy tomato pizza will leave you wishing you'd made more.


Tuesday, July 2, 2013

White Walker Sugar Cookies: the zombified dessert that's out to get you

We thought they were cookies. We were wrong. So wrong. They were much more than mere cookies. After we removed them from the oven, things got ugly...


It started when we noticed that their eyes were blue. None of us remembered them having blue eyes. Weren't they brown before?

White Walker Sugar Cookies: a zombie recipe from ASongofSpiceandFire

Then they started to move...on their own. That's right. They got right up off the cookie sheet, as though they'd been reanimated. It got gruesome fast!

White Walker Sugar Cookies: the zombified dessert that is out to get you | www.SongofSpiceandFire.com

We tried to run, but it was useless. They were faster. Stronger. Invincible. We didn't stand a chance. Our only recourse was to burn the remaining unfrosted guys before they had a chance to attack.

Burning the Sugar Cookies--the only way to keep them from turning to White Walkers

Sadly, we lost a sister... but it could've been worse. We're not sure what we'll do with Katy-Lynn now. For the time being, we're keeping her locked up. Who knew cookies would turn her into a White Walker? Living in Atlanta, we're pretty used to the dodging zombies issue (The Walking Dead), but we never thought that White Walkers were a risk as well! I guess we were wrong.
White Walker Sugar Cookies claim their first victim

All we have to say is, watch out! Make the cookies because they are delicious, but be careful. Be on your guard. You never know what might happen when White Walker sugar cookies are on the loose.

If you're willing to risk your life, here's how to give them a try...

White Walker Sugar Cookies Recipe


Prep time: 20 minutes

Cook time: 8-12 minutes
Makes about 2 dozen cookies

Ingredients:

1 cup room temperature unsalted butter
1 1/2 cups granulated sugar
1 egg
2 tsp vanilla extract
2 3/4 cups flour
1 tsp salt
1 tsp baking powder

Step 1: Preheat oven to 350 degrees. In a large bowl, beat together butter and sugar. Add vanilla extract and the egg and beat thoroughly.

Step 2: In a medium sized bowl, stir or sift together flour, salt, and baking powder. Slowly add flour mixture to the large bowl, beating it in about 1 cup at a time until completely mixed together.

Step 3: Divide the dough into two large balls. On a floured surface, roll dough out to 1/8 inch thick. Cut with cookie cutters, dipping the cookies cutters in flour before cutting. Place cookies on an ungreased baking sheet and cook for 8-12 minutes or until they start to brown.

We decorated our cookies with simple sugar cookie icing that tasted delicious.

Icing ingredients:

1 cup powdered sugar
4 tsp milk

Mix together in a bowl using a fork or a whisk. Divide up the icing before you dye it. You might need to make more icing. We doubled the recipe.

White Walker Sugar Cookies recipe www.SongofSpiceandFire.com

Monday, June 10, 2013

They're Poisoned! Boysenberry Beignets


At the very beginning of Game of Thrones, the Hand of the King was poisoned: Jon Arryn. Unfortunately, there are things hidden in food even in the kitchen. Our Hand of the Kitchen found this out the hard way when she bit into one of our fluffy beignets. They were boysened! 

That's right, boysenberry jam filled beignets. This beignet recipe makes enough to feed the whole kingdom, but watch out. You don't want to lose your Hand of the Kitchen to a boysened beignet.


Ingredients:


1 1/2 cups lukewarm water
1/2 cup granulated sugar
1 envelope or 2 1/4 tsp active dry yeast
2 eggs
1 1/4 tsp salt
1 cup evaporated milk
7 cups bread flour
1/4 cup shortening
Oil, for deep-frying
3 cups powdered sugar
2 cups boysenberry jam (seedless is easiest)

Step 1: Pour lukewarm water into a large glass bowl. Stir in granulated sugar. Carefully stir in yeast. Let mixture stand for 10 minutes.

Step 2: In a separate bowl, mix together eggs, salt, and evaporated milk. After the yeast mixture has sat 10 minutes, add egg mixture and stir together.

Step 3: In a separate bowl, measure out bread flour. Add 3 cups of flour to the yeast mixture. Stir in. Next stir in shortening and then slowly add the rest of the flour while stirring.

Step 4: Remove dough from bowl and place on a lightly floured surface. Knead dough until smooth.

Step 5: Spray a large glass bowl with nonstick spray and place kneaded dough in bowl. Cover with a towel or plastic wrap and let sit in a warm place for at least 2 hours.


Step 6: Preheat oil in a large pot to 350 degrees Fahrenheit. *If you can't check the temperature of the oil, then use a small piece of dough to check if the oil is hot enough.

Step 7: Roll dough out to 1/4 inch thickness. Cut into squares about 1 1/2 inches wide. Deep-fry, flipping the beignets constantly, until brown. It should take about 3-5 minutes per beignet. Make sure not to overcrowd your beignets in the fryer. Remove from fryer and place on a plate covered by at least two paper towels. 

Step 8: To insert the filling -- Using a toothpick or any other small object, puncture a hole into the side of the beignet. Put jam in a piping bag with a round pastry tip. If you have a small round tip, make sure you're using seedless jam as seeds will need a larger tip to fit through. Insert the piping tip into the hole in the side of the beignet and squeeze out some jam. You'll probably have to do a couple of practice beignets to figure out exactly how much jam to push out of the bag.

Step 9: Sift powdered sugar over your beignets and serve.


This recipe makes a lot of beignets, but don't worry. If you don't want to make all of them at once, store the dough in the refrigerator for up to 36 hours. Enjoy!


Wednesday, May 22, 2013

How to Make Buttercream Frosting Roses Tutorial


On Monday, we made a delicious House Tyrell inspired cake with pretty yellow roses. Today, we show you how to make those roses. Follow along with us in this short tutorial video or scroll on down to find the step-by-step instructions.

Making Roses and Leaves:

Step 1: Change the tip on your piping bag to a large star tip. I use a 1M tip, but you can also use a 2D
tip.

Step 2: To make a rose, hold your tip against the side of the cake and apply pressure to the bag. Keep pressing out icing while you move outward in a circle. – Practice this on a plate a couple of times before you do it on the cake.

Step 3: To decorate the cake in roses, you’ll want to start the center of the rose about an inch from the base of the cake. Make the next rose to the side of the first and continue until you have a bottom layer of roses. Stagger roses as you move up the cake. When you get to the top, allow the layer to hang over the edge to combine the sides and tops of the cake. Then make roses around the edge and work your way to the center of the cake.

Step 4: Put the green icing in a piping bag with a leaf tip. Start leaves at the base of the cake. Make leaves of alternating lengths as you move around the cake.


Monday, May 13, 2013

Khalee-C-Cupcakes: Heart-Shaped Red Velvet Cake

Caramel Flavored Red Velvet Cupcakes with a Peppermint Garnish


As we watched Daenerys Targaryan muscle her way past the gag reflex and choke down a raw horse heart during the first season of Game of Thrones, we thought to ourselves, "OMG, cupcakes!!" Yes, you read that correctly: cupcakes. Not just any cupcakes, mind you, but red velvet cupcakes with delicious whipped cream frosting and peppermint pieces all in a sweet little heart shape--a nod to Daenerys' suffering. 

Unfortunately, one amongst our number isn't such a fan of red velvet cake and handles eating cupcakes made with it about like Daenarys handled the horse heart...


If you're still with us--which you should be, because these bad boys are tasty--then let's get to baking!

Ingredients:


 Red velvet cupcakes (recipe here
 6 ounces of caramel ice cream topping
14 ounce can of sweetened condensed milk
1 cup heavy whipping cream
 1 tsp vanilla extract
 1 tbsp confectioner's sugar
 red food coloring
 peppermint candies


Step 1: Start out by prepping your favorite red velvet cupcake recipe. Here’s a good one from drool factor, but if
Khalee-C-Cupcakes
you’re more comfortable making it from the box than from scratch, that’s fine too. 

Step 2: I’m using a Wilton heart-shaped cupcake pan. If you don’t have or want to buy a heart-shaped pan, you can either make regular round cupcakes, or there are a couple of simple tricks you can follow to get heart-shaped cupcakes.

  •        One is the place a marble between the cupcake filter and the inside of the pan. This created the top of the heart.
  •         The second option is to bake your cake batter in a large flat pan and either cut out the heart shapes or use a cookie cutter.

Step 3: Use whichever shaping method you’ve chosen above and bake your cupcakes.

Step 4: While the cupcakes are in the oven, it’s time to prep the caramel and sweetened-condensed milk.  Combine the milk and caramel in a saucepan and stir. The mixture should be warm and easy to pour. Don't let the mixture become too hot and burn the caramel and milk.

Step 5: When the cupcakes are done let them cool for five minutes. Then take a knife and cut slits in the top of the cupcakes. Make sure not to cut to the bottom.

Step 6: Slowly pour the caramel and milk mixture over the slits in the cupcakes. I like to use a big spoon for this, but make sure not to pour too quickly. You want the cake to absorb the mixture.

Step 7: Prep the whip topping.
  •           Pour 1 cup of heavy whipping cream into a bowl. Mix until soft peaks form.
  •           Add 1 tsp of vanilla extract, 1 tbsp of confectioner’s sugar, and a few drops of red food coloring
  •          Beat until soft peaks form

Step 8: Put the whip topping on the cupcakes. To get a great look, put the topping into a piping bag and use a star-tip. I used a 1M star tip (which is quite large) to get a good icing look.

Step 9: Crush peppermints. This is easiest if you put the mints into a Ziploc bag and use a rolling pin to crush them. Once crushed, garnish the top of the cupcakes with the peppermints. Don’t like peppermint? Any chocolate or hard-candy will work and will add a great flavor.
Crushed peppermints sprinkled on the cupcakes
| www.songofspiceandfire.com
The sweet red velvet cupcakes with sprinkles of peppermint all around 
...take a bite and enjoy! 


Monday, May 6, 2013

A Game of Scones


When you play the game of scones, you win or you die.  There is no middle ground.


Inspired by the books "A Song of Ice and Fire" and the HBO series "A Game of Thrones," we bring you a culinary twist for your imagination: A Song of Spice and Fire. 


Together through the bond of sisterhood, but separate through differences in age and physical distances, we five sisters of the House Cook have joined our forces to create this adventure in the world of cooking. Every few days we will share recipes, decor and tools for your kitchen, and a healthy heaping of humor to lighten your day. Because days need lightening. Lunch has been long and comfortable and monotonous ... but, my friends, dinner is coming. 


A Game of Scones
___________________________________________


Whether you prefer the bitter-sweet crimson of cranberries, the sugar-capped goodness of chocolate chips, or the tang of cinnamon-covered raisins, these scones will suit your palette. But once you pick, you can never go back. Choose your side. Are you brave enough to play the game of scones?

broadsword and berries

Prep time: 20 minutes
Baking time: 20 minutes
Makes 36 scones

Ingredients: 

4 cups of flour
½ cup of sugar
4 tsp of baking powder
1 tsp of salt
½ cup of soft butter or margarine
1 ½ cup buttermilk
1 cup craisins (dried cranberries), chocolate chips, or raisins     


  1. Preheat your oven to 400°F
  2. Next, sift together the flour, sugar, baking powder, and salt
  3. Cut in your soft butter or margarine (Tip: Grate the butter and then fold it gently into the dry ingredients for easier mixing)


4. Slowly pour in the buttermilk while stirring. Still too dry and not mixing well? Feel free to add a tiny splash or two more of buttermilk.

5. Knead the dough together then divide into three equal sized balls.

6. Clear a large space and cover in flour.

7. Roll out the first ball of dough and lay craisins across it. Gently press them into the dough. Then roll the dough up, with the craisins inside. Knead again. Roll out dough to ½ inch thickness.

8. Cut using a cup or something else round with at least a 4-inch diameter (We use the lid of a Lemonade powder container. It’s a great upcycle that works perfectly). Using a table knife, cut the circles into quarters – this is easiest if you dip the knife in flour first.

9. Cover a baking sheet with parchment or wax paper and lay the scones on it. Lightly brush with milk and sprinkle each scone with a little sugar.

10. Place baking sheet in the oven for 15-18 minutes, or until the tops of the scones are golden brown.

11. Repeat steps 7-11 for raisins and chocolate chips.


For a gorgeous and tasty finishing touch, after baking, sprinkle cinnamon sugar over the raisin scones, or powdered sugar over the chocolate chip scones. 

To make the cinnamon sugar, make a simple mixture that's 1 part cinnamon and 4 parts sugar. Stir it up and dust it on.


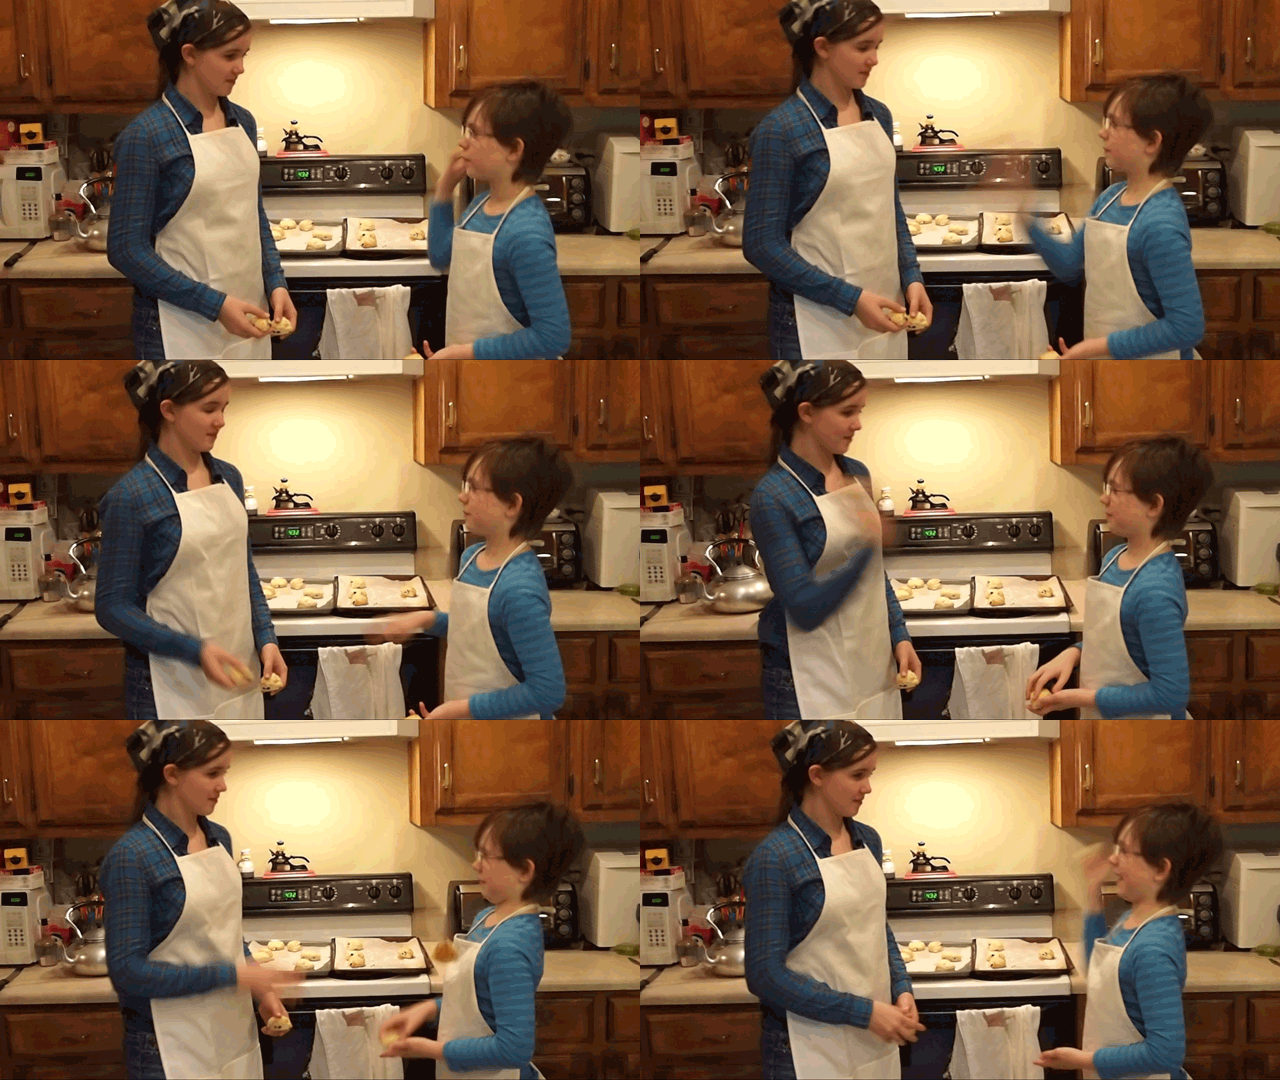
This recipe makes quite a few scones. You may surprised how many. There’s so many, you can even throw them at each other!

 Let the games begin…