Friday, April 11, 2014

Pretzswords: Soft Pretzel Swords

Soft Pretzel Swords for Your Food Arsenal
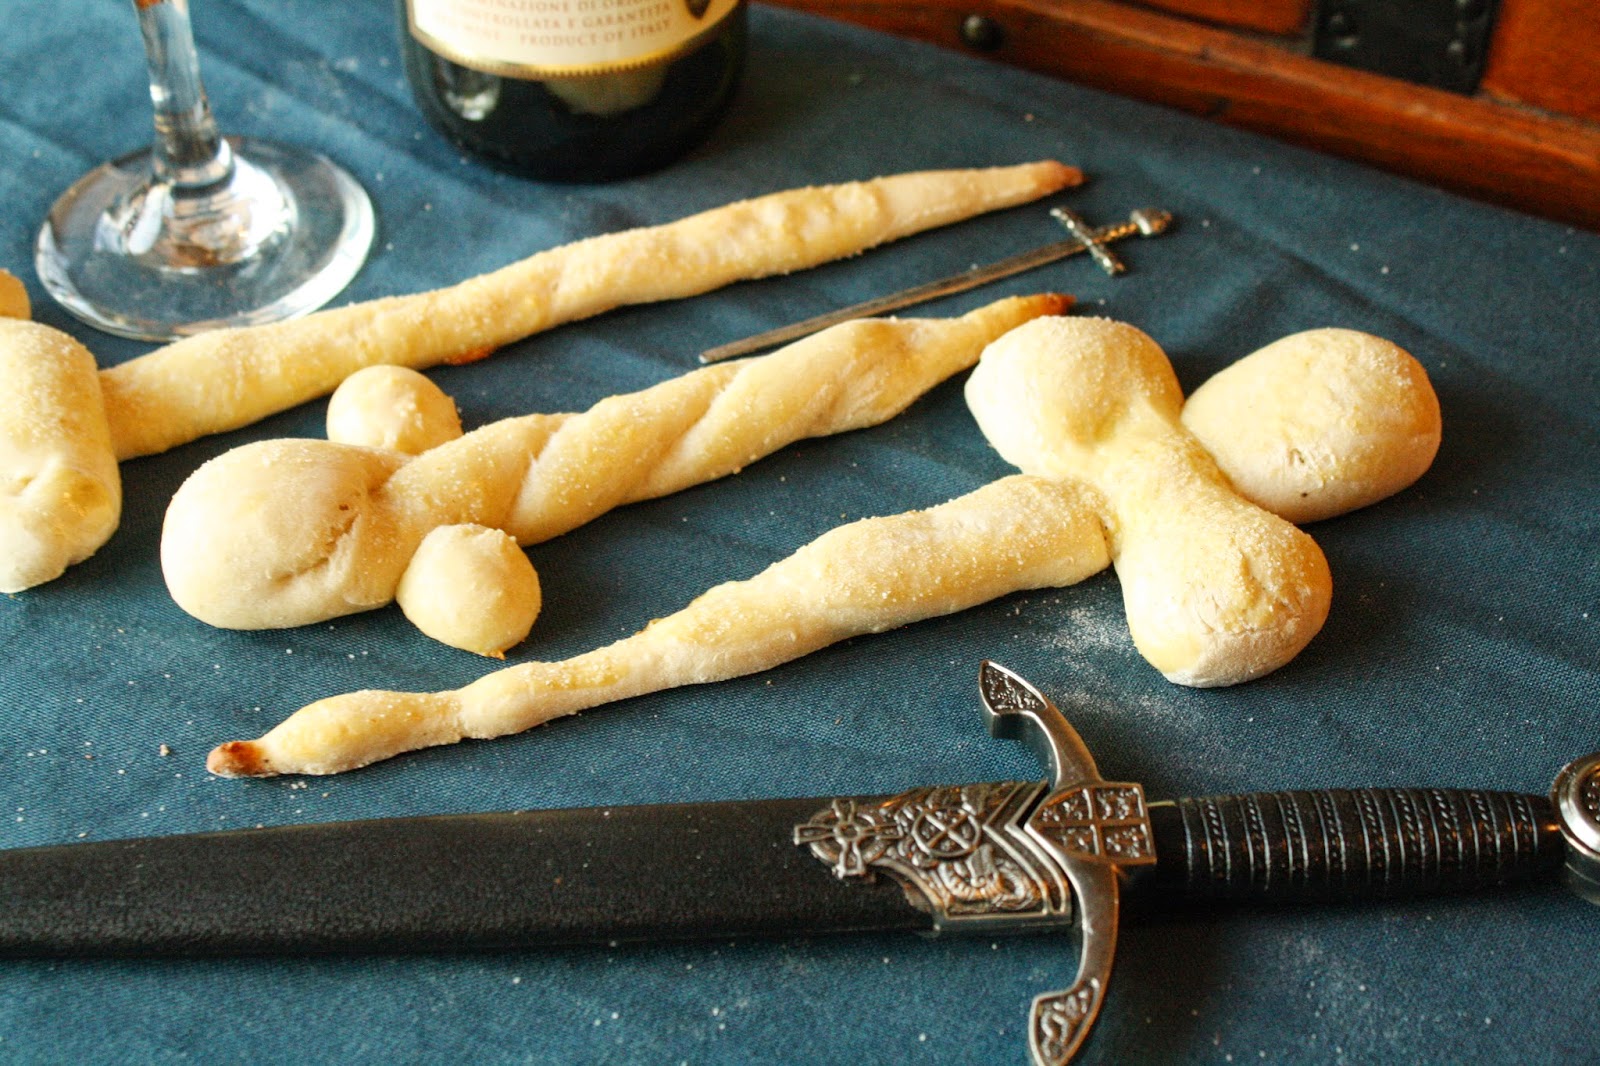


Everyone needs a few armaments round the table. So why not make them delicious as well? The characters of Westeros seem to always be heavily armed - even at dinner. Here at House Cook, our arsenal is equipped a little differently. Sure, we have a couple of broad swords lying around, but when it comes to food our swords are completely edible.

If you love soft pretzels, then follow our recipe and shape them into pointed swords and knives that will make you ready for battle...or maybe just snack time. Whether you're fighting or eating, we recommend you always have a pretzel on your side.
Prep time: 30 minutes
Bake time: 10 minutes
Makes 8-12 Pretzels (less or more depending on how big you make them)

Ingredients:

1 1/2 cups lukewarm water
1 packet active instant yeast, or 2 1/4 tsp
1 tsp salt
1 Tbsp sugar
3 3/4 - 4 1/4 cups flour
1 egg
Salt for flavor

Step 1: Preheat the oven to 425 degrees and prepare a baking sheet with parchment paper.

Step 2: Dissolve the yeast in the lukewarm water. Stir gently with a spoon for about one minute until mixed. Add salt and sugar and stir until thoroughly combined. One cup at a time, add in three cups of flour. Mix with a wooden spoon while you add until the dough is thick. Add flour a quarter cup at a time until it is no longer sticky. 

Step 3: Flour a flat surface. Place the dough on top and knead if for about three minutes. Shape into a ball. Separate the dough into sections for the pretzels. You can make each pretzel as big or small as you want.

Step 4: To shape the swords, we used two different techniques. The first is to roll the dough into a long rope. Fold the rope in half and twist it together. Shape the end into a point and add two clumps of dough at the thicker end for the hilt of your sword. The other technique is to roll the dough into a long rope. Flatten the rope and then pinch it together with two finger. Pull one end into a point. Now take a smaller piece of dough and make a hilt that is large at the ends and thin in the middle. Lay the hilt over the top of the sword. Place each sword on the parchment paper when it is complete.

Step 5: Beat the egg into a small bowl. With a brush or your fingertips, spread egg over the top of you pretzels. Sprinkle with salt. (I like to use garlic salt on my pretzels). Place pretzels in the oven for ten minutes or until the bottom is golden brown.

And that's it! An easy and quick pretzel recipe with a Game of Thrones twist. We hope enjoy this great treat for a regular snack or a Game of Thrones viewing party.


Monday, March 31, 2014

The Dirt and Mud of Westeros


Dirt: The Pudding and Oreos Treat to Roll Around In


As we gear up for the new season of Game of Thrones - which we couldn't be more excited for - we've noticed that the men and women of Westeros seem to really love mud! They're always rolling around in it until they're completely covered. We decided to jump in on this mud craze and see what all the fuss is about.

Of course, we couldn't just use regular dirt. We whipped up this delicious dessert and played in it instead. Let's just say that we all enjoyed eating it, but we're not sure any of us liked playing in it. There must be a trick in Westeros we're not aware of here...


Prep time: 30 minutes
Total time: 3 hours
Makes between 15 and 20 servings

Ingredients:

1 package of Oreo cookies
2 packages of instant chocolate pudding (3.9 ounces total)
4 cups milk
8 ounces cream cheese - room temperature
1/4 cup butter - room temperature
1 cup powdered sugar
8 ounces whipped cream
Gummy worms (we used sour ones. yum!)

Step 1: Crush the Oreos. This is easiest done in a food processor; however, we didn't have one on hand. If you're like us, put the cookies in a plastic bag and crush them using a rolling pin.

Step 2: In a large bowl, whisk together milk and pudding mix for two minutes, or until it thickens. Let stand for about 5 minutes.

Step 3: While the pudding is waiting, beat together the cream cheese and butter in a medium-sized bowl. On low speed, add in the powdered sugar slowly. Beat until it is thoroughly mixed and nice and fluffy.

Step 4: Fold the cream cheese, butter, and sugar mixture into the pudding. Then fold in whip cream until it's thoroughly combined.

Step 5: To serve we used small cups, though you could put the whole thing in a large pan. Either way, layer the mixture with alternating layers of Oreos and pudding, starting and ending with Oreos. Refrigerate for a couple of hours and then serve.

We hope you enjoy your dirt! Though, despite how fun it looks on Game of Thrones, we wouldn't recommend playing in it. It's kind of cold...and sticky...


Wednesday, January 15, 2014

Red Keep Treats: Raspberry & Dark Chocolate Meringues

 Raspberry Meringues with Dark Chocolate Chips


Valentines Day is close enough now that we can't stop thinking about sweets. Looking for a royal treat for your betrothed? Look no further than our raspberry flavored meringues with dark chocolate chips. Inspired by all of the betrothals and weddings in the Red Keep of King's Landing last season, our mouth-watery Red Keep Treats are the perfect sweet that will literally melt in your mouth. They're light and fluffy - just right for your sweetheart (arranged or not).

Besides, who doesn't want to feed their Valentine like a royal Southerner?


Ingredients:

2 egg whites
3/4 cup sugar
1 tsp raspberry extract
1/4 tsp cream of tartar
1/8 tsp salt
2 drops of pink or red food coloring
1 cup dark chocolate chips

Step 1: Preheat oven to 300 degrees. Prepare a cooking sheet covered with parchment paper.

In a medium-sized bowl, beat egg whites until soft white peaks form. To check for peaks, turn off your beaters and flip them upside down. Beat until peaks remain on the upside-down beaters.

Step 2: Add sugar, raspberry extract, cream of tartar, and salt. Beat until stiff peaks form. Test for peaks the same way as before. These cookies are naturally white, so I beat in pink food coloring. If you don't have pink, try using one or two drops of red food coloring for the same effect.

Step 3: Stiff in dark chocolate chips. Drop the mixture onto the parchment paper in small clumps, using a spoon. Space each cookie about 1 inch apart. Bake for 20 minutes.

And that's it! Let them cool, and enjoy. But be careful, these cookies crumble easily, so don't pack them too tight.


Tuesday, November 26, 2013

North of the Wall: German Black Forest Cake

A view over the hills of the eastern edge of Germany's Black Forest facing France

What's been keeping House Cook from having much chance to cook these days? Distance and many, many changes.

This has been a season of change for us all. Anna-Lara has found a job and has been getting used to a new rhythm of life, Katy-Lynn is preparing for college, Julianne is jumping into her exciting new world of high school, and the youngest of us has been working as her soon-to-be rockstar self, practicing piano and winning science fairs. Meanwhile, I, Sarah-Lambert, have moved to Germany.

Today is the first in our new series, "North of the Wall," featuring foods and drinks and adventures from Germany where winter is most definitely coming.

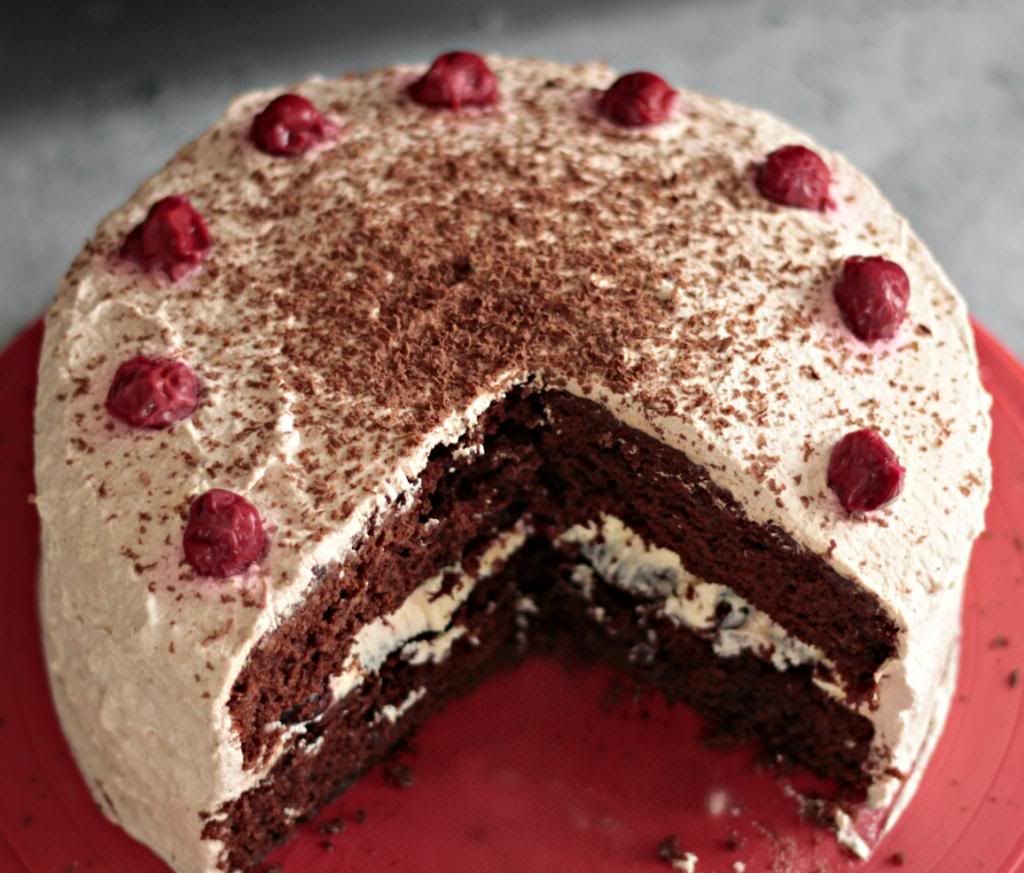
Feast your eyes on some delicious, traditional Black Forest cake:


Yeah... tasty looking, right? It certainly is.

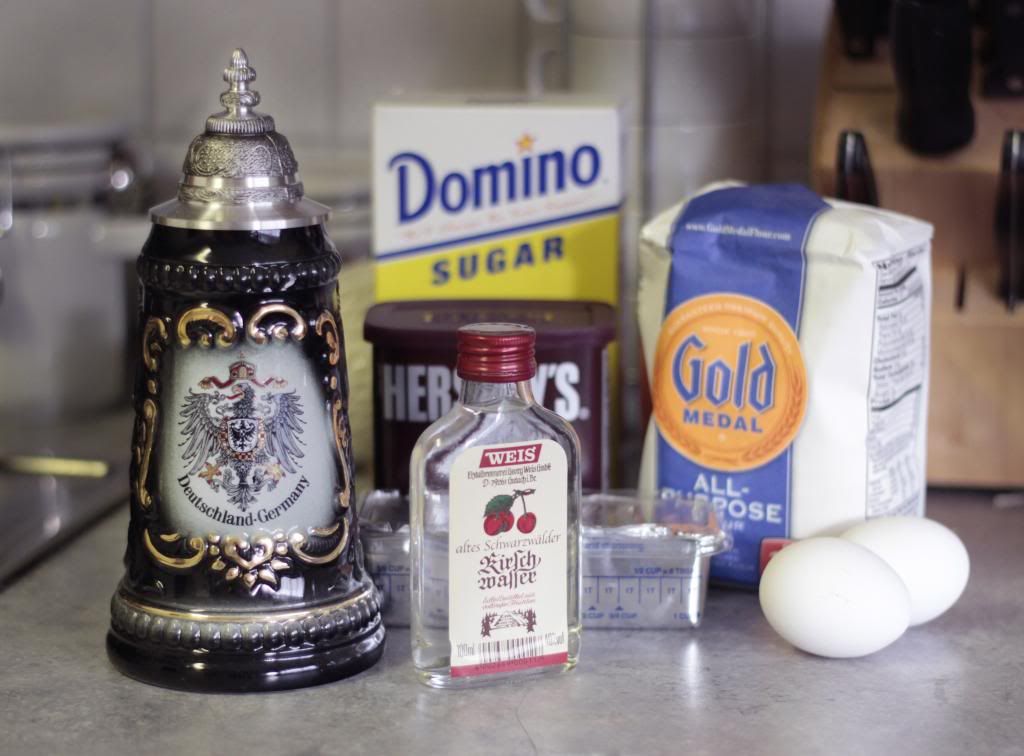
When I first started looking for the recipe, I could find only German ones. Not too much of a problem since translating a recipe isn't the most difficult, but thankfully, I found one written up in English that is only a tiny bit different from the one in German (you can find the English one I used as reference here). The recipe we're sharing with you today from North of the Wall is a mix of these two recipes.


German Black Forest Cake

Moderate difficulty. Prep time 40-60 minutes (I took 60, but you're probably faster). Cook time 40 minutes.

Ingredients: 

Cake:

1 2/3 cups   flour
2/3   cup unsweetened cocoa powder
1 1/2 tsp   baking soda
1 tsp   salt
1/2 c   shortening
1 1/2   cups sugar
2   eggs
1 tsp   vanilla extract
1 cup   buttermilk
2/3 cup   kirsch (cherry schnapps)

Filling: 

1 stick of butter, room temperature
1 3/4 cups powdered sugar
1 pinch of salt
1 tsp strong coffee or espresso brewed and cooled
1 (14 oz) can of dark sweet pitted cherries in heavy syrup

Whipped frosting:

2 cups heavy whipping cream
1/2 tsp vanilla
1 tbsp kirsch
1/2 tbsp unsweetened cocoa powder
grated semi-sweet chocolate for garnish
extra dark cherries for decoration


Step 1: Preheat oven to 350 degrees

Step 2: Line the bottoms of two 8 inch round pans with parchment paper (or tin foil) circles.

Step 3: Sift together flour, baking soda, cocoa, and salt and set mixture aside.

Step 4: Cream shortening and sugar until nice and fluffy. Then beat in eggs and vanilla.

Step 5: Slowly, add the flour mixture into the shortening mixture alternating with your buttermilk until they are thoroughly combined. **If the mixture seems too dry add a tiny bit more buttermilk**

Step 6: Pour the mixture into your pans and bake for 35-40 minutes.

Step 7: When the cake halves are both baked, allow them to cool thoroughly. Once cooled, poke holes all over them using a toothpick or fork and sprinkle the kirsch (cherry schnapps) over them generously. How much you use is up to how strongly you'd like the cake to taste of schnapps. Remember: the alcohol will not be baked off, so don't get crazy with it if you're making this sugar treat for your kids!

Step 8: Cream the butter until light and fluffy.

Step 9: Add the powdered sugar, pinch of salt, and coffee and mix thoroughly.

Step 10: Remove the cake halves from their pans. Place the first half on a plate and spread the mixture from steps 8 and 9 over the surface of the layer. Top this with the pitted cherries and their syrup. **I only ended up using 3/4 of the can. Use as little or as much of the cherry/syrup business as you think looks good**

Step 10: In a separate bowl, whip the cream to stiff peaks.

Step 11: Beat in the vanilla, cocoa and kirsch listed under "whipped frosting" in the ingredients.

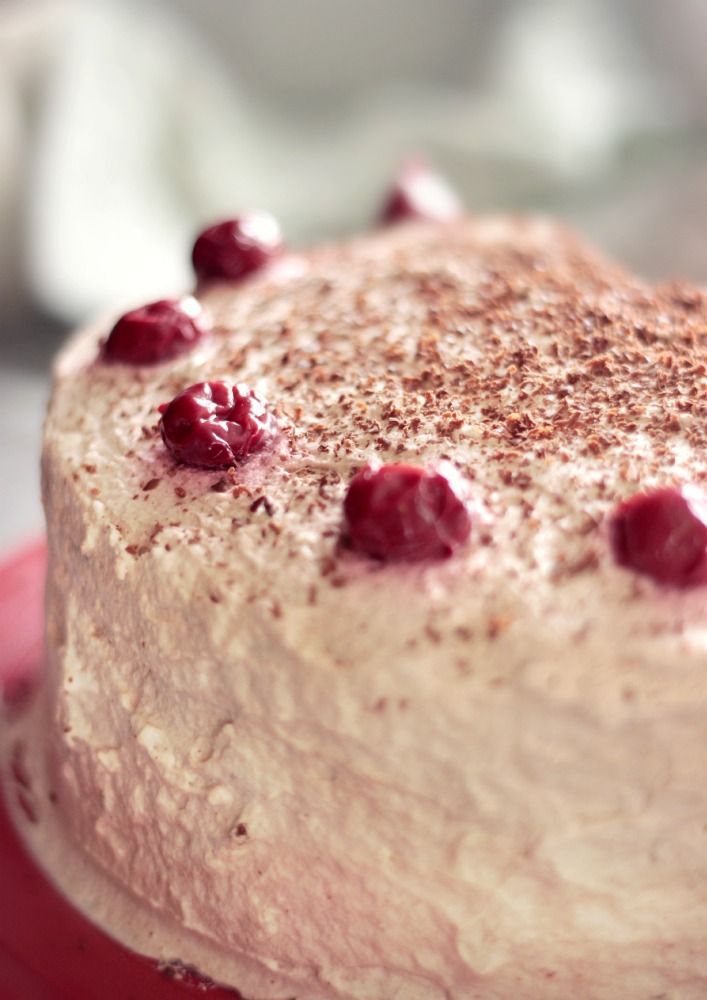
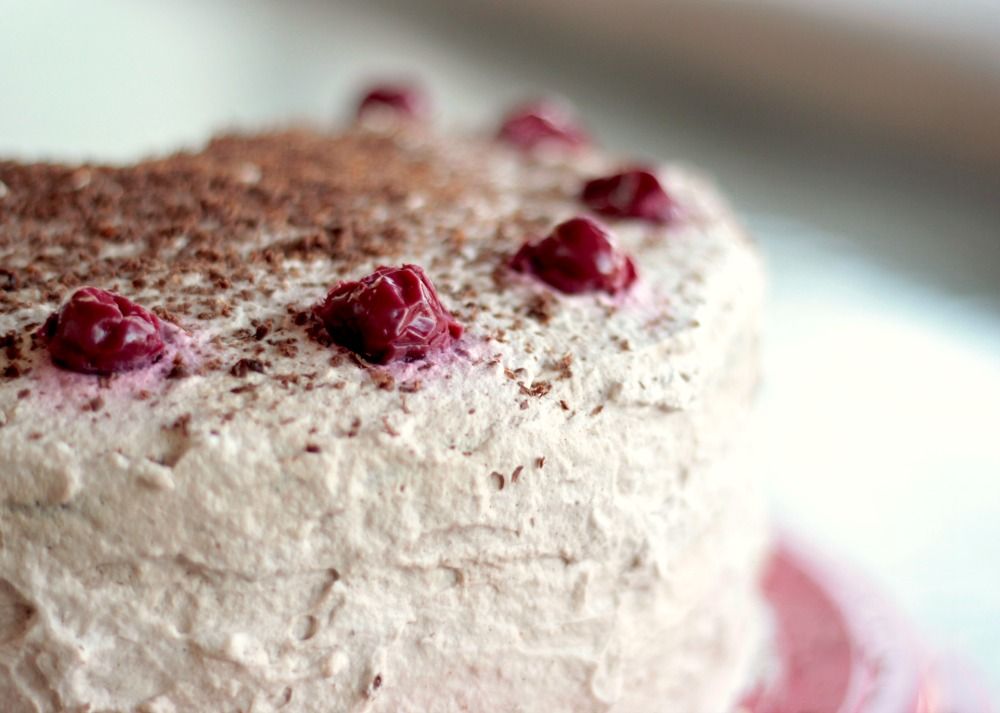
Step 12: Frost top and sides of cake and decorate with a dusting of chocolate shavings and a lining of cherries. Want more chocolate? Get crazy with your shavings and apply them liberally!

Keep the cake refrigerated until serving.


Monday, October 7, 2013

Winter is Coming: Apple Cider Cupcakes


Apple Cider Cupcakes with Cinnamon Buttercream Icing


Feel that chill in the air? Winter is coming. 

But for now, it's time to celebrate Fall. To help your taste buds adjust to the change in the weather, we've whipped up an easy dessert. Apple cider cupcakes, topped with cinnamon buttercream icing, are the perfect treat for autumn. These melt-in-your-mouth cupcakes will leave your house smelling like cinnamon. Not to mention that they match the colors outside.


Prep time: 30 minutes
Bake time: 19-22 minutes
Makes: about 15 cupcakes

Cupcake Ingredients:

2 eggs
1 2/3 c flour
2/3 c sugar
1 c apple cider (I made mine with instant apple cider mix)
1/2 softened butter
2 tsp baking powder
1 tsp cinnamon
1/2 tsp salt
1 tsp vanilla

Buttercream Ingredients:

1/2 c butter
1/2 c shortening
2 tsp vanilla
1 tbsp cinnamon
1 tbsp milk
1 bag of powdered sugar

Cupcakes:

Step 1: Preheat oven to 350 degrees. Prep cupcake tins with paper liners.

Step 2: Whisk together cupcake ingredients in a large bowl. Do not add cider while it's hot, or you'll cook the eggs.

Step 3: Fill cupcake liners about 2/3 of the way full. Bake for 19-22 minutes, or cooked through. Test with a toothpick.

Icing:

Step 1: Beat together butter, shortening, and vanilla until creamed. Stir in cinnamon.

Step 2: Beat in powdered sugar one cup at a time. When the mixture becomes thick, add 1 tbsp of milk and keep beating. Mix in the entire bag of powdered sugar. You will have extra icing. Either cut the recipe in half before you start, or store icing in the fridge.

To get the two-toned roses that I decorated my cupcakes with, divide your icing in half and color one half red and the other orange. Then follow the instruction here to create two-toned roses.

And that's it! A super easy recipe for fall. These cupcakes will definitely impress at any fall or Halloween party. Enjoy!